Skip to content

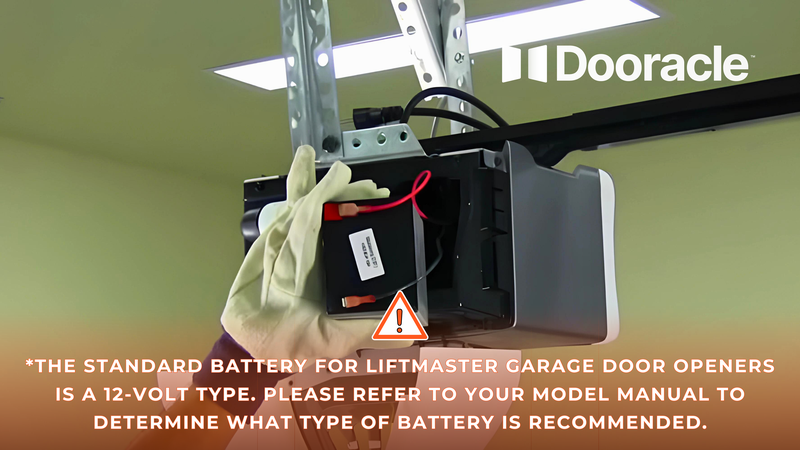
Introduction
To keep your LiftMaster garage door working properly you must replace the batteries periodically. The backup battery is automatically used during a power outage. This makes it particularly important to have fresh battery power available for your unit Get fresh batteries into your LiftMaster garage door opener today when the time comes that you need it most, it will be ready and waiting to help you out for as long as necessary.
Identifying When to Change the Battery
In the event of a power outage, the LiftMaster battery backup system automatically takes over. Here are some indicators of when it’s time for battery replacement:
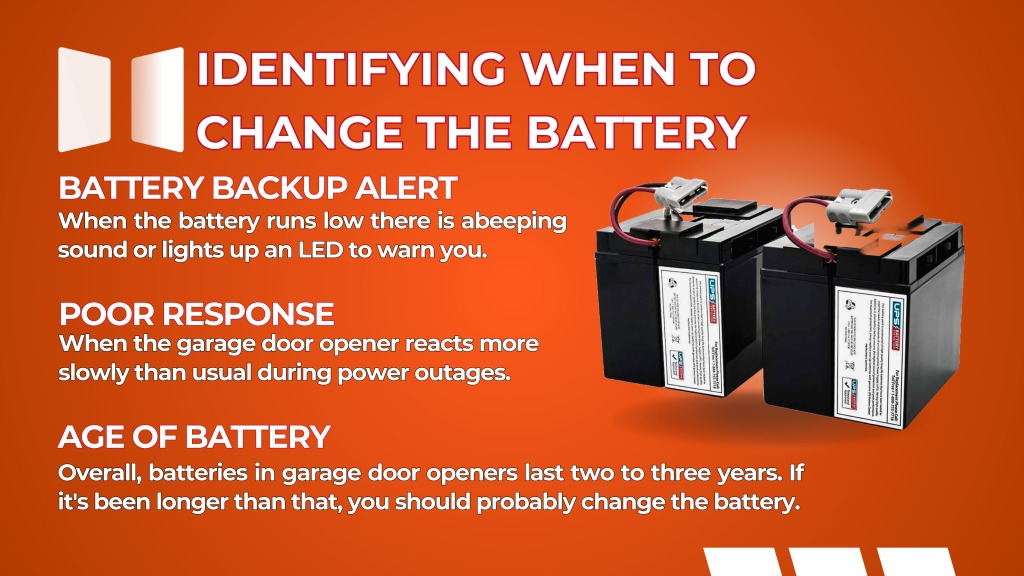
Battery Backup Alert:
When the battery runs low in most models, it emits a beeping sound or lights up an LED to warn you.
Poor Response:
When the garage door opener reacts more slowly than usual during power outages, the battery may be losing its capacity to hold a charge.
Age of Battery:
Overall, batteries in garage door openers last two to three years. If it's been longer than that, you should probably change the battery even if you haven’t noticed any symptoms of low charge.
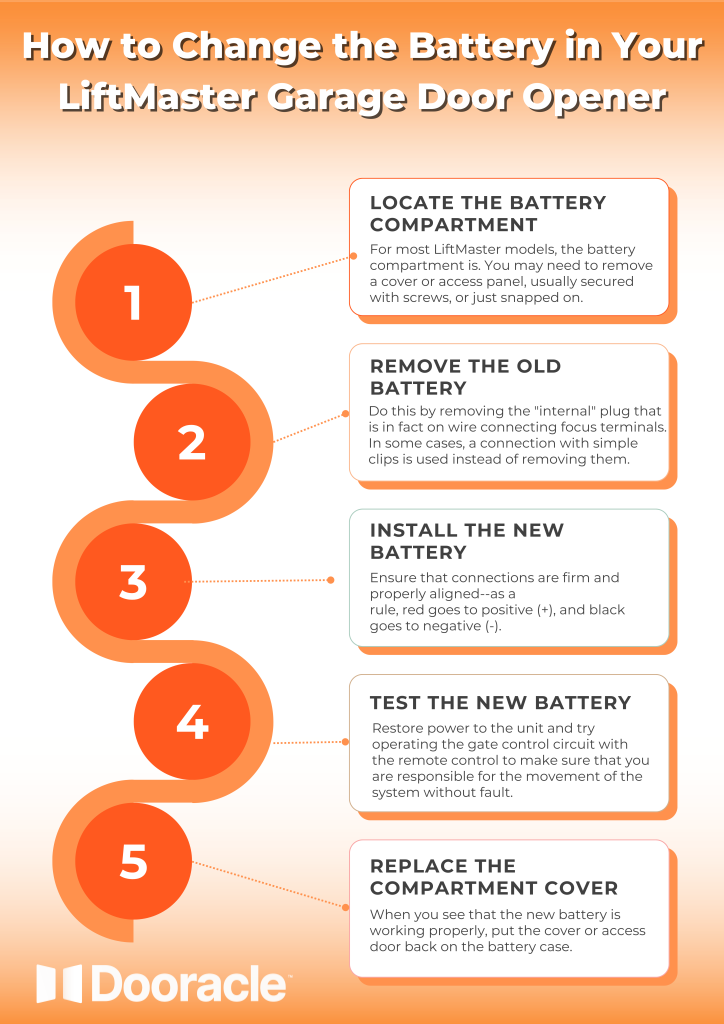
Steps to Change the Battery in Your LiftMaster Garage Door Opener
Changing the battery in a LiftMaster garage door opener is a straightforward process. Here’s how to do it:
1. Locate the Battery Compartment:
2. Remove the Old Battery:
3. Install the New Battery:
4. Test the New Battery
5. Replace the Compartment Cover:
Additional Tips for Battery Replacement
Conclusion
The upholding of the “Do it yourself” spirit demands that you change the battery in your LiftMaster garage door opener. This means better repairs during power outages and longer life for your installation. Following these simple instructions from homeowners means this job can be done by people themselves easily without needing professional expenditure.
Regular maintenance including battery checks and replacements will keep your LiftMaster opener running smoothly for the long haul. Changing the battery on your LiftMaster garage door opener will simply be another chore in this. This booklet is intended to give homeowners all the necessary details for them to replace their door opener batteries themselves and achieve self-sufficiency after this problem that past generations had always relied upon third parties to solve has been removed by taking responsibility and doing it yourself