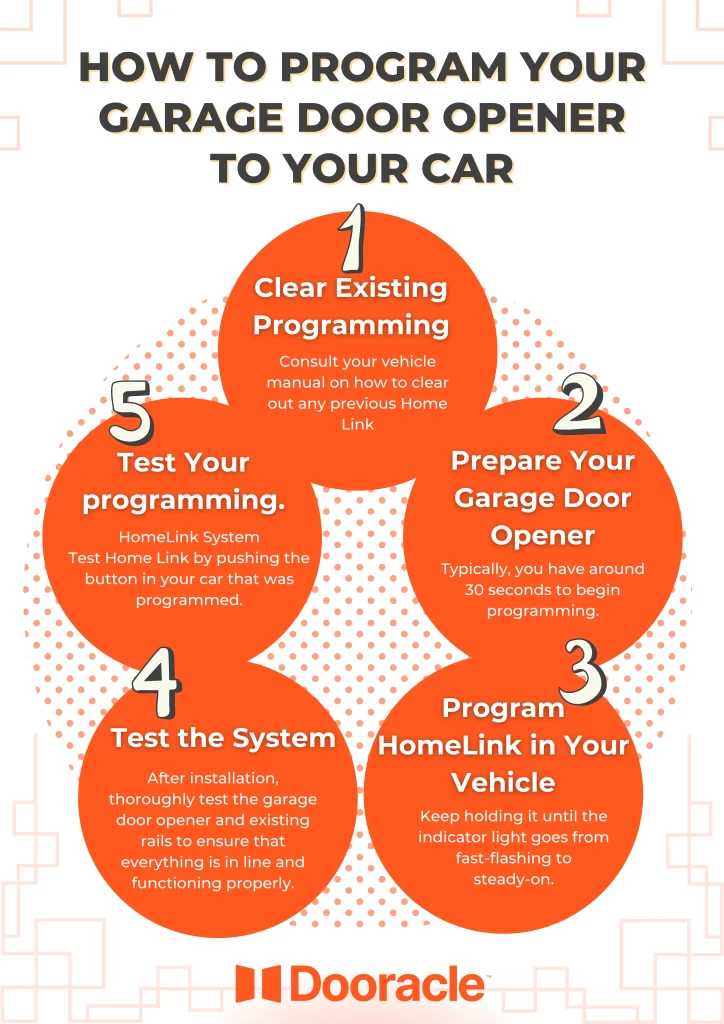
Step 1: Clear Existing Programming (if necessary)
If your vehicle’s Home Link system has any old programming from a previous garage door opener, it needs to be cleared first. Consult your vehicle manual on how to clear out any previous Home Link programming.
Step 2: Prepare Your Garage Door Opener
Locate the “Learn “or “Training “button on your garage door opener motor unit. This button is usually near antenna wires or at the back of the motor unit. Push the “Learn” button and release it so that your garage door opener is set into programming mode. Typically, you have around 30 seconds to begin programming from your vehicle.
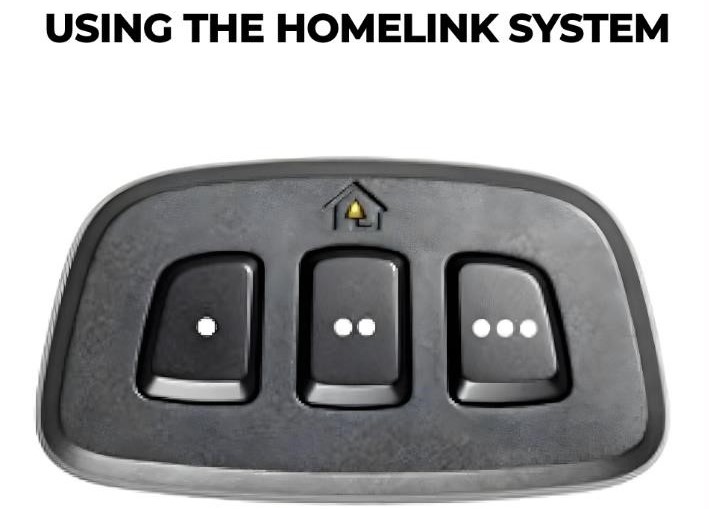
Step 3: Program HomeLink in Your Vehicle
- n your vehicle, turn the ignition switch to the accessory position (usually the second position) or start your engine.
- Hold down the button on Home Link that you want to program (usually found on the sun visor or rearview mirror), as well as the corresponding button on your garage door opener remote. Hold both buttons for a few seconds, until the Home Link indicator light starts blinking quickly.
- Release both buttons, then press and hold the Home Link button again. Keep holding it until the indicator light goes from fast-flashing to steady-on, which indicates successful programming.
Step 4: Test Your HomeLink System
After you have programmed it, test Home Link by pushing the button in your car that was programmed. Your garage door should open or close as expected. If it does, then the programming was successful.
Method 2: Using the Garage Door Opener Remote
Should your car not have a home link system, or if you'd rather use the garage door opener remote supplied by manufacturers, then programming these options is as such
Step 1: Prepare Your Garage Door Opener Remote
Keep the battery in your garage door opener remote in good working order. Should it need replacement, do so now for consistently strong performance during programming of your vehicle s systems.
Step 2: Access the Programming Mode
Refer to your vehicle's manual to find out a programming button or sequence that must be followed in order for the garage door opener remote to synchronize with your car. This process will vary depending on the make and model of the automobile.
Step 3: Program the Remote
1. Turn your ignition switch to the accessory position and then start the engine. Press holds down on the programming button; or follow a sequence as specified.
2. One end of that programming button, press and release the button on your garage door opener remote. Hold down this first one until the car's lights flash or another sign shows that it is programmed with success.
3. Release the button and test by pressing guard door operation for your car.
Common Issues and Troubleshooting
Weak Signal
If your garage door won’t respond to any commands after you have programmed it, just make sure that your vehicle is within range of the garage door opener and that there is nothing obstructing transmission.
Interference
Electronic interference from neighboring devices or objects can disturb the signal between your car and the garage door opener. Relocate at another place or time to remove interference reprogramming.
Compatibility
Check whether there is compatibility between your vehicle’s integrated garage door opener and the garage door opener model. Incompatible systems may need alternative programming methods or additional accessories for trouble-free operation.
Conclusion
In conclusion, programming your garage door opener to your car is a simple procedure which is supported by the overcrowding security in the modern ages. Whether utilizing the HomeLink system or garage door opener remote, stay within these steps and troubleshooting tricks, and operations run smoothly as well as eliminate various common challenges. Allowing the synchronization of these tools is hassle-free to utilize your garage and have the confidence to keep your residence secure.