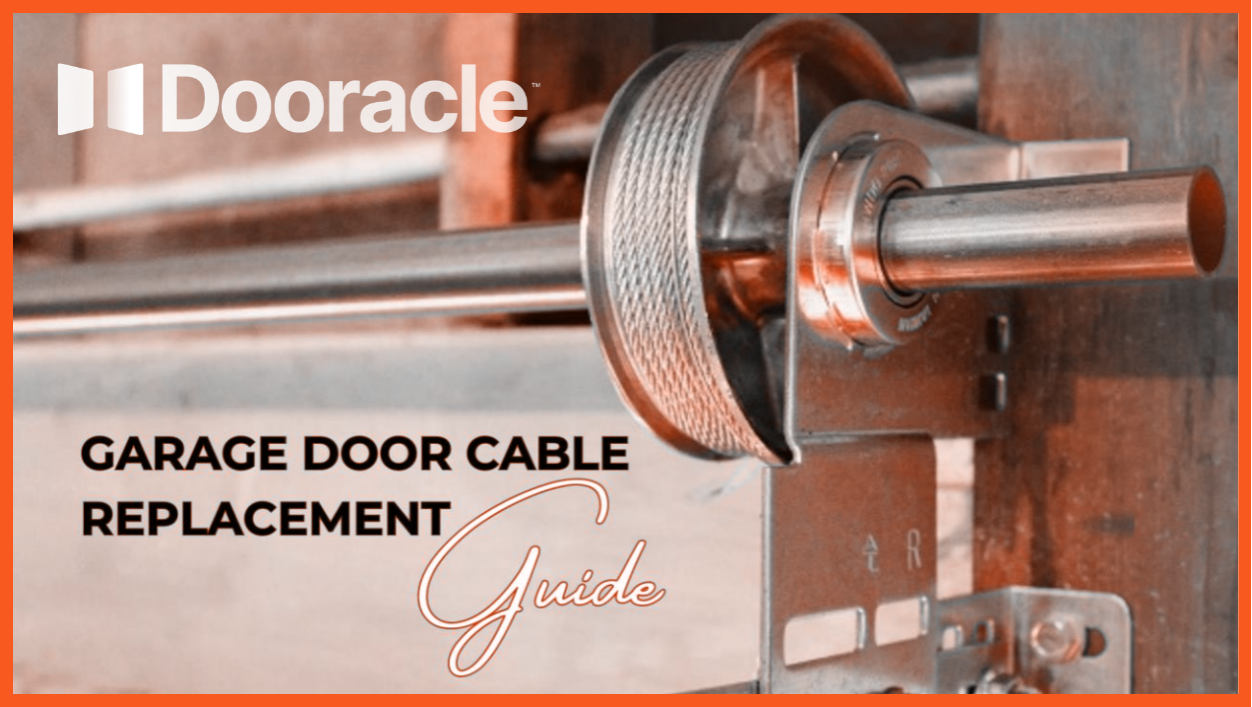
Signs That Your Garage Door Cables Need Replacement
Prior to undertaking cable replacement, you should look for signs that your garage door cables might be worn out and need replacing. Common signs of cable wear or damage are If you notice any of these circumstances, it is important to carefully check the garage door cables and change them if necessary.

Tools and Materials Needed
Before we can begin the process of replacing the cables, we'll need to collect these tools and materials:
Step-by-Step Guide to Garage Door Cable Replacement
Read on to find out who you can restore your own garage door to safe,working order.

Step 1: Safety Precautions
- The first step is the basic check of ensuring that your garage door is closed and also disconnected from its opener- to prevent unexpected movement. This is particularly important if you’re changing the cables or springs etc.
- Always wear safety glasses and gloves so as to protect your eyes and hands while you are doing the work. They can also keep any springs, brackets or cables from shooting back at you when suddenly released for any reason (this is called “loading” a spring).
Step 2: Apply Some Muscles to Release Springs
- Apply Some Muscles to Release Springs Vice grips or locking pliers can be used to hold the garage door track beneath its lower roller, preventing the door from swinging about.
- A wrench adjustable or socket wrench works to loosen those setscrews on all torsion springs. This lets spring come at rest and tension can pass at this place. Following the maker’s instructions as to how much “leave” is left when screwing in with each type of dancer spring will mean that you get proper fall or tension does not exist in accidental places
Step 3: Dismantling Old Rope
- Check the bottom bracket on the bottom of your garage door where your cables are attached.
- Use a socket wrench in order to loosen the bolts that secure the bottom bracket to your door.
- Slide the old cables out of the bottom bracket and drum at the top of your door. While doing this it might be useful to take a close look around, as you’ll need that as a reference in installing new ropes.
Step 4: Install New Cables
- Feed the new ropes through the bottom bracket and drum, following in exactly (or as closely as you can manage) The same way that your old ones did.
- Bolts, clips or anchors scorched in place will secure these ropes to your bottom bracket.
- Wind these new ropes about behind the drum at top of your garage door, making entirely certain that they are properly spaced and have the right spring.
Step 5: Reapply Tension to the Springs
- For the cables at top run off both drums, remember to tighten each screw on the = torsion spring with a wrench adjustable. Refer, please, to maker’s instructions for how much – tension each spring should have when tuned up into place again.
Step 6: Test the Door
- With great care pull away those vice grips or locking pliers from underneath your garage door track.
- Operate your garage door to see whether it now moves smoothly and closes normally. If there is any trouble, check for unusual sounds or obstacles when the door is closing.
Additional Tips and Considerations
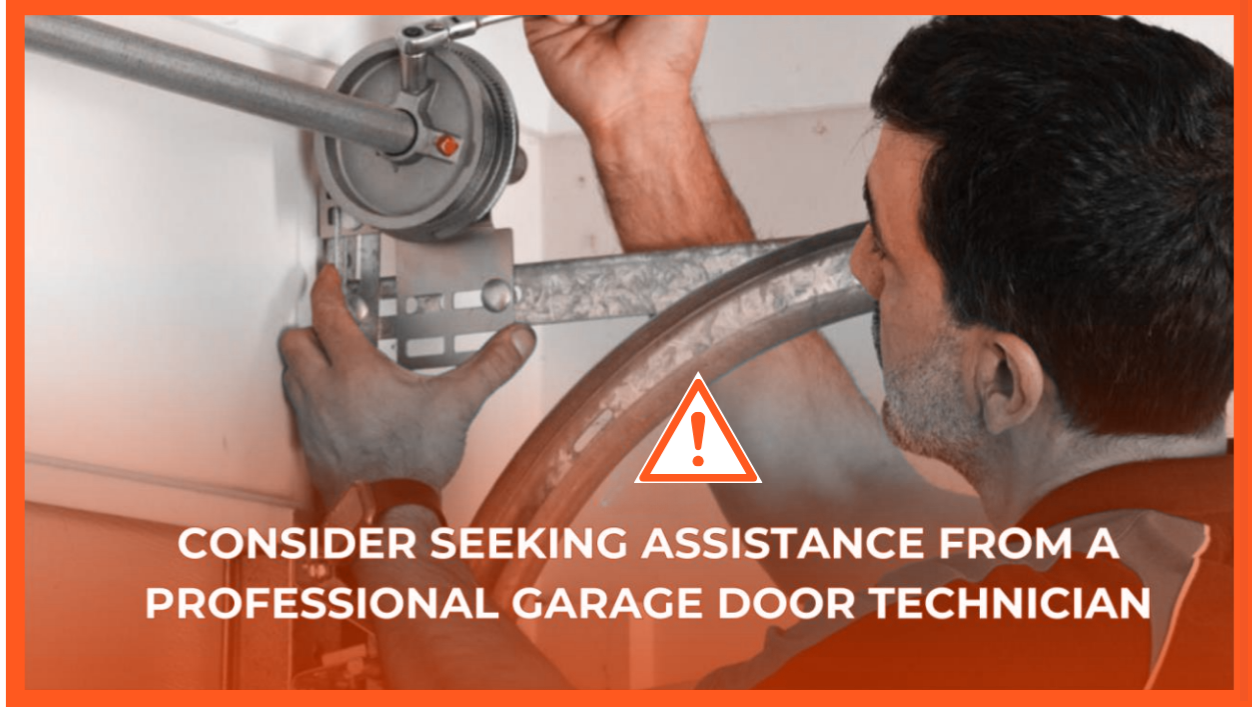
Conclusion
For homeowners with some basic mechanical skills and tools, replacing garage door cables is a controllable DIY task. By following the day-to-day DIY tasks given above and taking proper precautions, worn or damaged garage door cables may be replaced. This will give you a garage door that performs smoothly and reliably. Don’t forget to use high-quality replacement cables, which are compatible with your door model and install them according to proper techniques in order that they offer maximum safety as well as performance. If you’re not absolutely sure about any aspect of the replacement process or if you run into problems along the way, don’t hesitate to employ professional help to make sure things are done right.