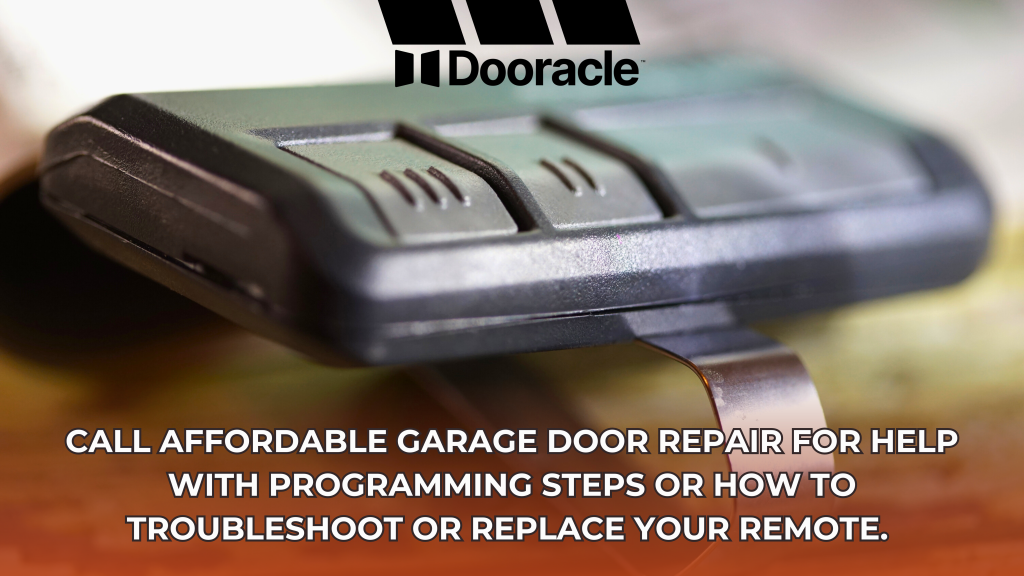
This step-by-step guide from Affordable Garage Door Repair helps you reprogram your garage door remote, so it works seamlessly again.
Step 1: Identify the Kind of Garage Door Opener You Have"
It is important to know what type of garage door opener you are dealing with before reprogramming your remote. Therefore, most openers can be broken down into one of three categories:
01
Rolling Code Openers
Found in most later models, these transmit a different code in the remote every time the appliance is activated.
02
Static Code Openers
These are usually found in older systems, and they stick to a single code for access remotely.
03
Smart Openers
These can be connected to wi-fi and accessed via an app, facilitating reprogramming at an even easier level.
Note: Your opener type could have either the first or second style so look it up in your owner guide or check for the brand and model number on the opener itself.
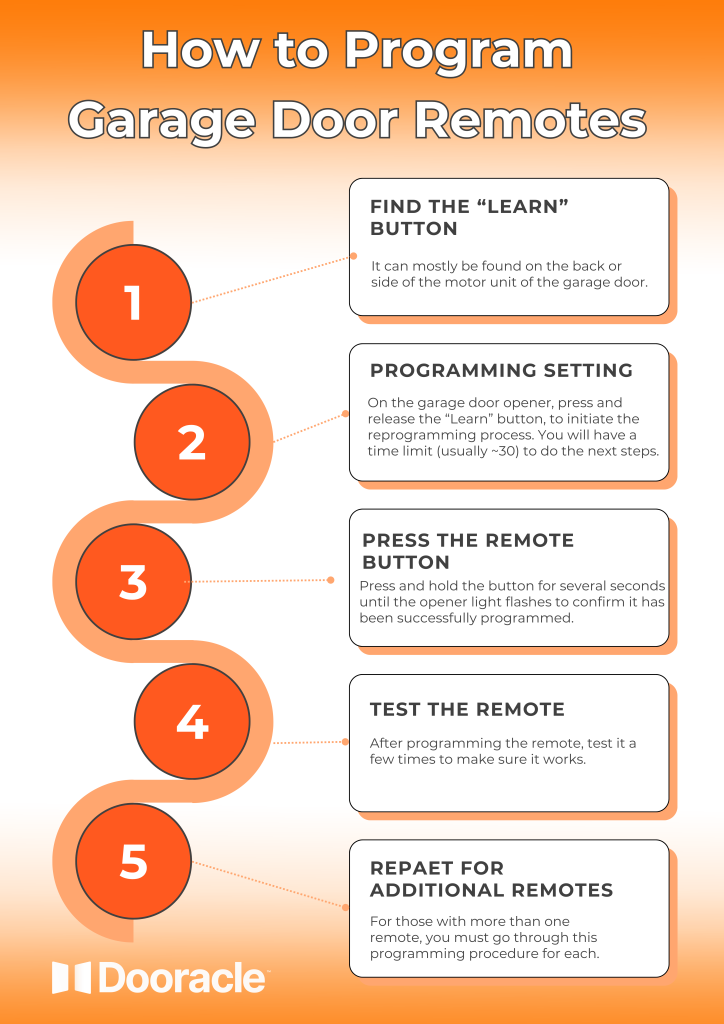
Step 2: Find the Learn Button
This commonly refers to the “Learn” button or “Program” button that most garage door openers have in order for a user to reprogram their remotes. It can mostly be found on the back or side of the motor unit of the garage door.
- Check for a small (typically colored) button that has “Learn” or “Program” printed next to it.
- Some units may need to raise a cover-up for the button.
- The Learn button usually is red, yellow, orange, or purple.
Step 3: Set the Remote for Reprogramming
01
Check the Batteries
Make sure the remote you want to reprogram has new batteries inside and is working well.
If the remote seems unresponsive, or you have not replaced it in over a year, start by replacing the batteries as a simple trick.
03
Press the Learn Button
On the garage door opener, press and release the “Learn” button to initiate the reprogramming process.
You will have a time limit (usually ~30 seconds) to do the next steps.
03
Press the Remote Button
Hold the button on your remote you wish to program within 30 seconds of hitting the "Learn" button.
Press and hold the button for several seconds until the opener light flashes to confirm it has been successfully programmed.
Step 4: Test the Remote
After programming the remote, test it a few times to make sure it works.
- Stand several feet from the garage door and press the remote buttons that were programmed.
- Check the efficient opening and closing of the garage door.
- If the remote does not work, repeat steps 4 and 5 to confirm that the programming process was successful.
Step 5: Repeat for Additional Remotes
For those with more than one remote, you must go through this programming procedure for each. Follow the same steps you used for the first remote to ensure each one works properly.
Note: Certain garage door openers allow a limited number of remotes to be programmed; please consult the manual for your opener if you have any issues doing so.
Erase Codes If Necessary
If you are adding a new remote or there are security concerns, it’s a good idea to delete all previous codes from your opener. This ensures that only your new remotes will work.
01
Press and Hold Learn Button
02
Indicator Light Turns Off
03
Reprogram Each Remote
04
Advantage: Old Codes Wiped Out
Troubleshooting Common Issues
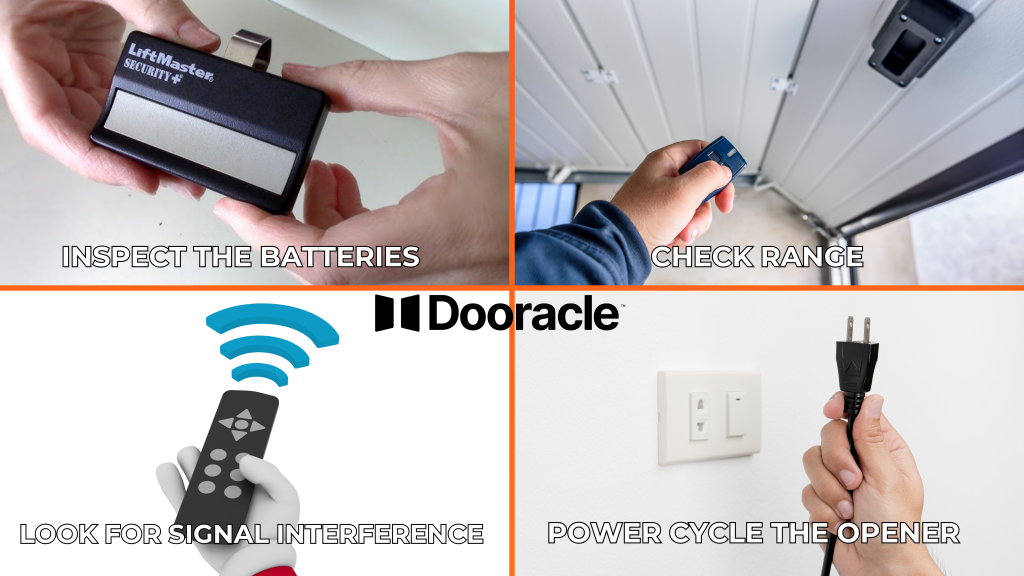
01
Inspect the Batteries
Make sure they are fresh and installed correctly.
02
Check Range
Use the remote at various distances from the opener to verify if the range is limited.
03
Look for Signal Interference
Wireless devices or LED lights in your garage may cause interference.
04
Power Cycle the Opener
Unplug the opener for a few minutes, then plug it back in to reset the system.
If these troubleshooting methods don’t solve the problem, it could mean replacing your remote (which may be the more affordable option), or there could be a transmitter malfunction with the opener.
When to Call a Professional
Try reprogramming and troubleshooting, if it doesn't work still try to contact a professional. Our technicians at Affordable Garage Door Repair will identify the problem, whether it’s a remote that needs repair or replacement, an opener that is malfunctioning, or a new receiver.
Conclusion
Reprogramming your garage door remote is quick and easy, giving you back the convenience and most importantly, security of access via a remote. With the above points, you will easily be able to sync your remote with your garage door opener and this way keep your home open yet secure.