

Why Insulate Your Garage Door?
We’ll start with the why before proceeding to the how-to part. Here are a few convincing reasons
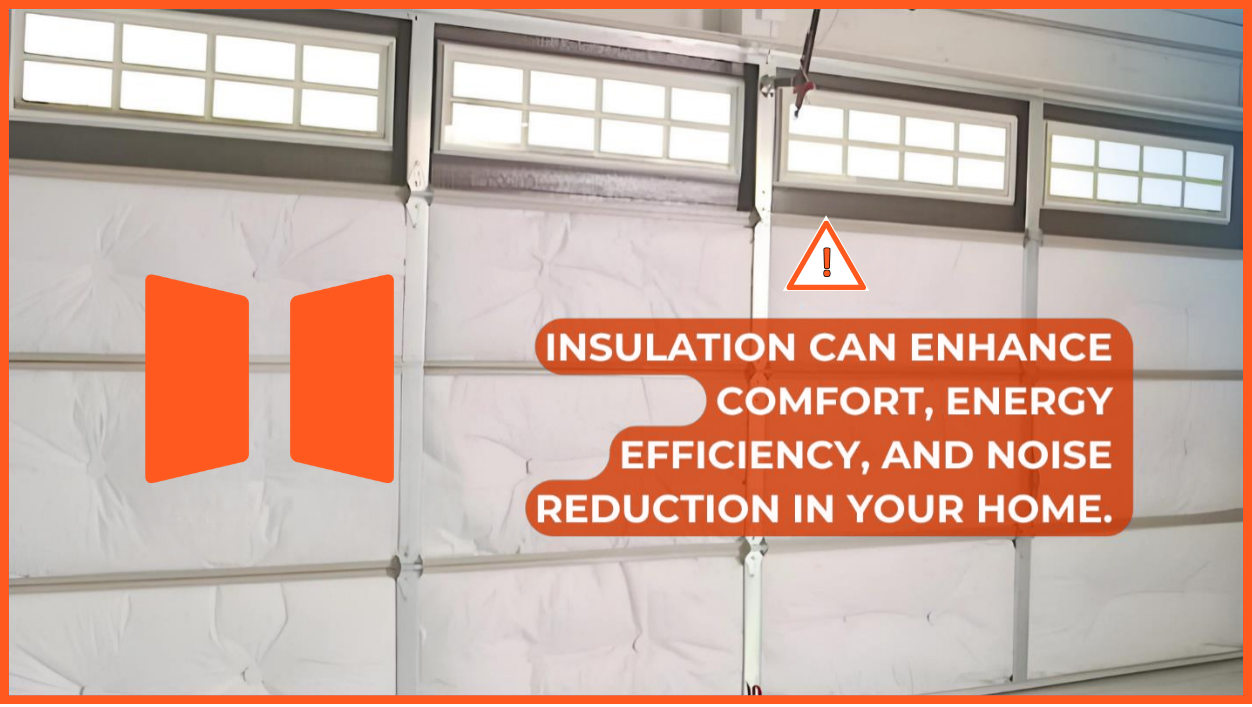
Temperature Regulation
Insulation helps control temperatures in your garage. It ensures that the temperatures inside are conducive to all the occupants, including all stored services.
Energy Efficiency
When insulating a garage door, you ensure minimal heat loss in winter and minimal gain in summer, thus reducing the costs on energy for heating and cooling.
Noise Reduction
It helps lessen the sounds from outside to inside and those from inside to the surrounding noise. It would help if you considered insulating your garage door when you use it as a garage workshop or an entertainment hub.
Protecting Belongings
Insulate your garage door to protect your property from moisture and unfavorable temperatures.
Methods of Insulating Garage Doors
There are several means to insulate your garage door, and each method has its pros and cons
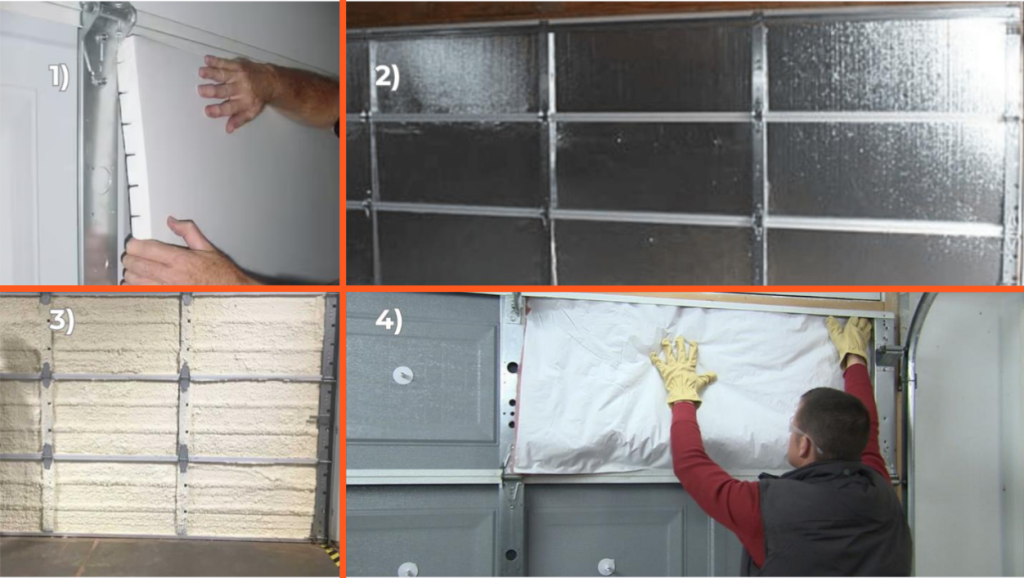
Insulation Kits
Many manufacturers sell insulation kits that are specifically designed for garage doors. These kits might include insulation panels or foam boards that you can install on your own.
Reflective Foil Insulation
Reflective foil insulation, made from aluminum foil with a layer of insulation, is attached to the inside of the garage door to reflect heat away from the garage.
Spray Foam Insulation
This type of insulation becomes a seamless, airtight barrier if applied to the interior of the garage door. It also expands to fill cracks and gaps, creating excellent thermal insulation and muffling sound.
DIY Insulation
Finally, consider a more affordable option, which is do-it yourself insulation. You can save more money through the use of fiberglass bats or rigid foam boards, but this method requires more time and skill.
Step-by-Step Guide to Insulating Your Garage Door
Now we’ll explain one of the simplest methods, walking you through the insulation process using an insulation kit. Here is the guide
Step 1: Gather Your Materials
Bring together the necessary materials: this may traditionally include an insulation kit, knife or scissors, ruler, gloves and safety glasses (if you aren't wearing them usually).
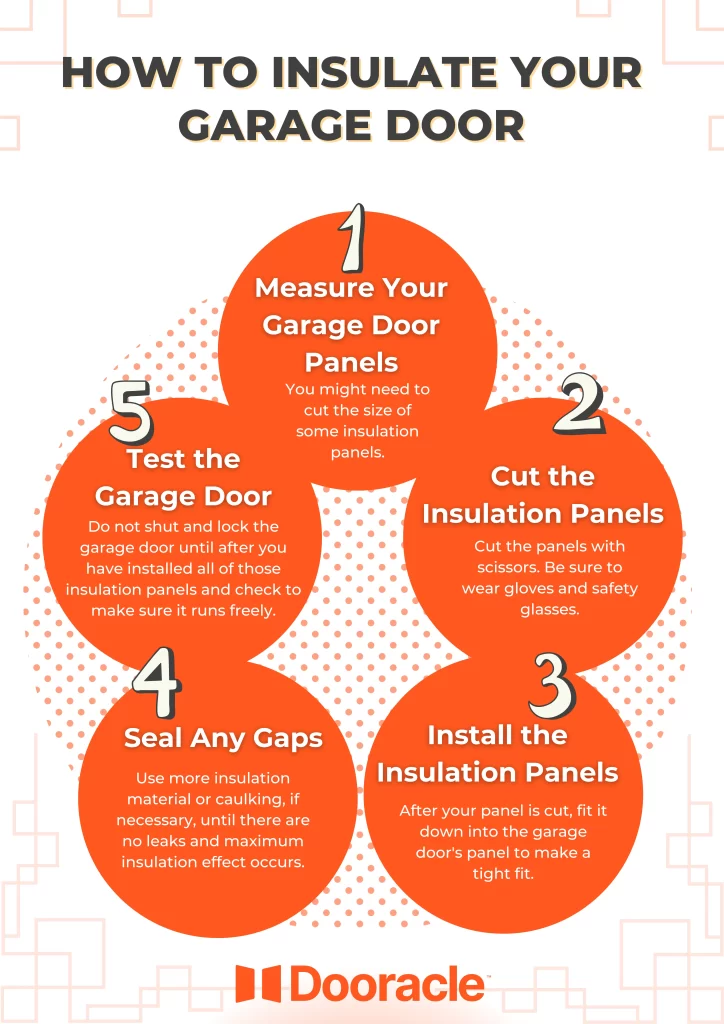
Step 2: Measure Your Garage Door Panels
You might need to cut the size of some insulation panels. Measure the width dimensions for each door panel to determine what is needed in your individual situation.
Step 3: Cut the Insulation Panels
Cut the panels with scissors. Be sure to wear gloves and safety glasses.
Step 4: Install the Insulation Panels
After your panel is cut, fit it down into the garage door's panel to make a tight fit. (Most kits will provide adhesive tabs or pins for this purpose.)
Step 5: Seal Any Gaps
Check for cracks along the edges of your insulation panels. Use more insulation material or caulking, if necessary, until there are no leaks and maximum insulation effect occurs.
Step 6: Test the Garage Door
Do not shut and lock the garage door until after you have installed all of those insulation panels and check to make sure it runs freely.
Conclusion

Putting in an insulated garage door is somewhat easy but a very effective project for a domicile. When you do it right as shown previously that indeed makes all of the insulation difference! Fortunately, now in addition you have four different kinds to choose from When the time comes Make sure now that no matter what approach you take whether it kit insulates materials with very high reflectivity levels available on site to spray foam (or do-it-yourself), make certain your garage door is as tight and efficient As can be. Heeding this illustrated paint by number guide will send you well on your way toward a more comfortable living area.